We use cookies to make your experience better. To comply with the new e-Privacy directive, we need to ask for your consent to set the cookies. Learn more.

Tips for Exporting a MODPATH Project
MODPATH works with MODFLOW to show particle tracking information. Once you have successfully completed a MODFLOW project, you may want to share that information collected through MODPATH with your other colleagues. Exporting the MODPATH data can allow you to share specific information with them.
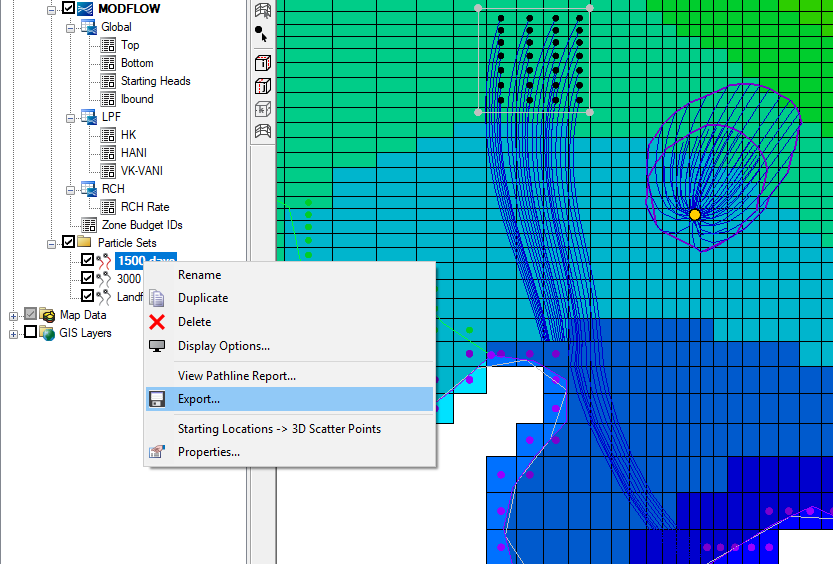
Typically, the Save As command in the File menu and the right-click Export command in the Project Explorer are used to export MODPATH data from GMS. When using these commands, there are some tips for getting the most out of them.
April 8, 2020
|
View: 1944
|
Categories: GMS
|
By: <a class="mp-info" href="https://aquaveo.com/blog/author/admin">Aquaveo Staff</a>
About the Author

Performing a Silent Install of XMS (Passwords & Hardware Locks)
October 10, 2018
Computing Basin Curve Numbers in 9 Easy Steps
May 16, 2023
Converting a NET File to an INP File
May 9, 2018
Performing a Silent Install for ALS
October 27, 2021
Tips for Finding Information on the XMS Wiki
September 25, 2019
Comparing Multiple Design Alternatives in One Project
April 7, 2026
Incorporating MODFLOW 6 Groundwater Energy (GWE)
March 31, 2026
Essential DEM Clean-Up for Watershed Delineation
March 24, 2026
Essential Boundary Condition Guide
March 17, 2026
How to Delineate a Well Capture Zone Using MODPATH
March 10, 2026