New and Improved Lidar Tools in GMS 10.4
With the release of GMS 10.4 (beta), a set of new and improved tools for importing and handling lidar files is now available. The new tools provide much faster import times, and most processing happens on the fly as the lidar display options are adjusted.
Merging and Display Options
As with previous versions of GMS, either a single or multiple lidar files can be imported. However, the options available for handling the lidar data have changed significantly, offering more precise control and more options that will allow better use of the lidar file data.
One of the best new features is that GMS 10.4 allows merging multiple lidar files into a single file. This is accomplished by selecting the desired lidar files in the Project Explorer, then right-clicking and selecting Merge. Enter the desired filename and allow GMS to process the merge.
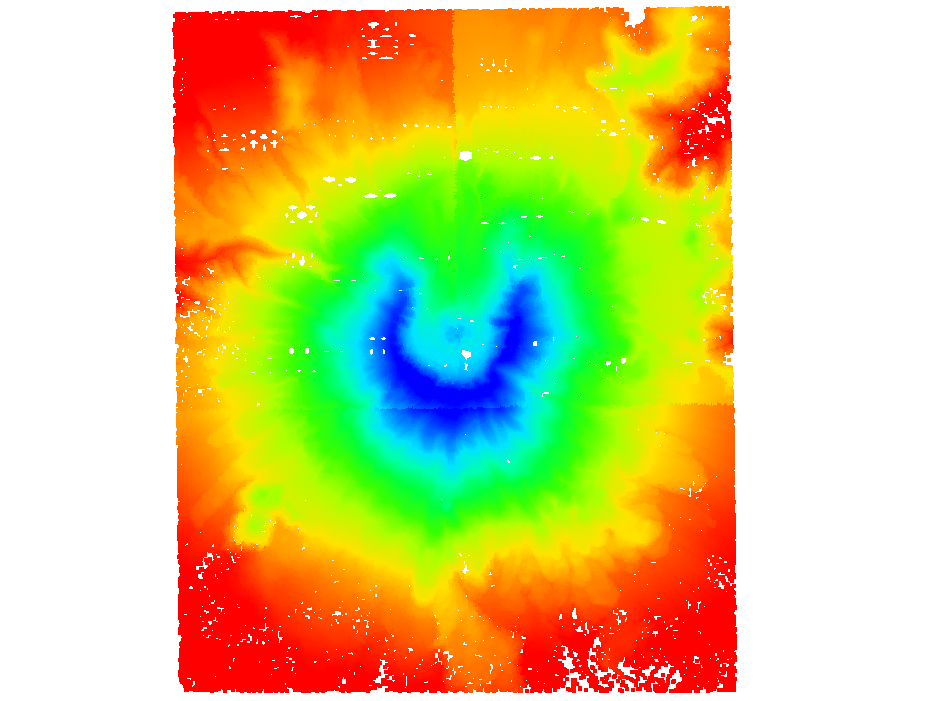
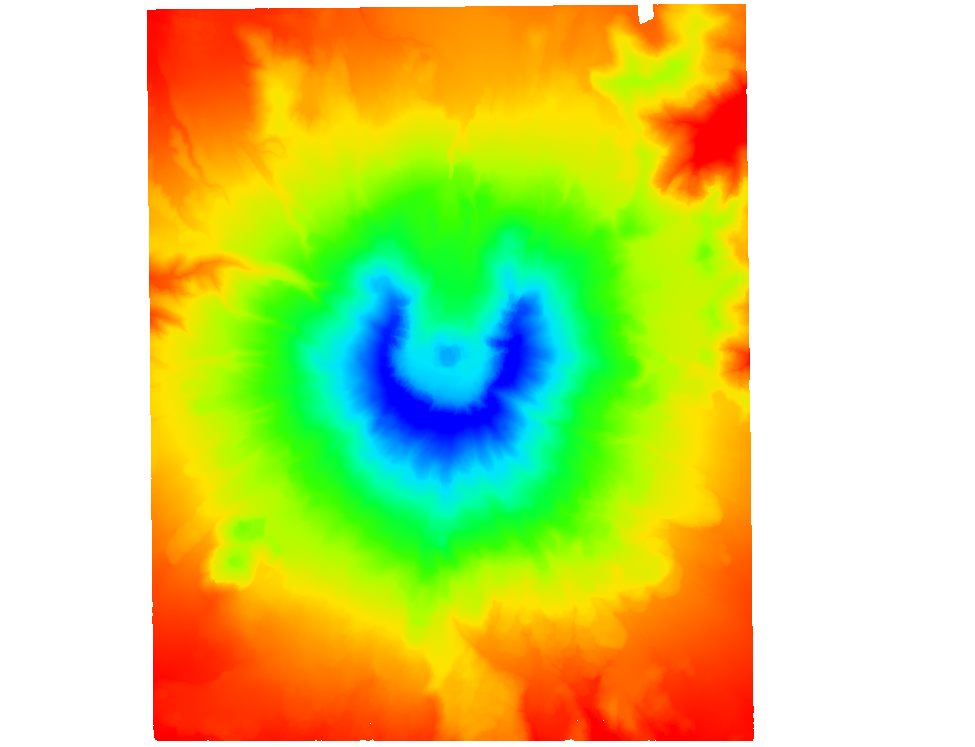
After the merging is complete, you can import the new lidar file into your project.The merged file has all of the lidar cloud points that were contained in the original lidar files, though not all of them may be visible. The visibility of lidar cloud points can be adjusted using the display options for the merged lidar file. Access them by right-clicking on the merged lidar file in the Project Explorer and selecting Display Options… to bring up the Display Options dialog.
 ]
]
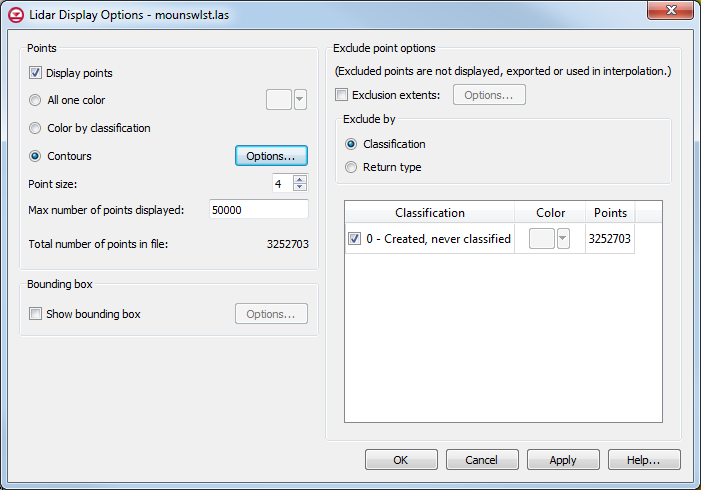
This dialog allows you to change point size, how many are displayed, which kinds are displayed, which points to exclude, and how to exclude them. This allows you to choose the level of complexity without overwhelming you with too many options. The following image shows the merged lidar file with 5 million points displayed.
Interpolation Options
- UGrid: If your project has an existing unstructured grid (or one that has been imported or created), you can interpolate the lidar files to that UGrid. Simply select the desired lidar files in the Project Explorer, then right-click on them and select Interpolate to UGrid… to bring up the Interpolate Lidar to UGrid dialog. This allows you to select the target UGrid, set the new dataset name, and set the sampling distance.
- Raster: This option uses the lidar display options set at the time of interpolation and creates a raster file. The Interpolate Lidar to Raster dialog allows the number of X and Y cells to be set, and changing those affects the cell size. The merged raster is then imported into the Project Explorer.
Try these new features today in GMS 10.4 (beta).


