We use cookies to make your experience better. To comply with the new e-Privacy directive, we need to ask for your consent to set the cookies. Learn more.

Creating a Raster from MODFLOW Contours
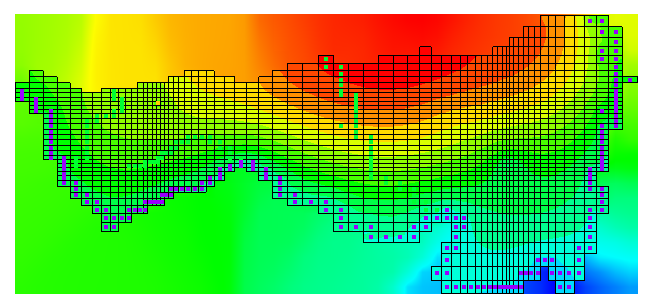
You’ve just finished successfully running a MODFLOW simulation in GMS and you are viewing the results in lovely contours on your screen. Now you would like to save those results as a raster file you can import into another application.
In order to save the MODFLOW contours as a raster, the MODFLOW results will first need to be converted to a scatter point set, then the scatter point set can be made into a raster.
Converting MODFLOW Layers to Scatter Points
To convert MODFLOW data to scatter point data, do the following:
- Select the MODFLOW simulation.
- Use the Grid | MODFLOW Layers → Scatter Points menu command.
- In the MODFLOW Layers → Scatter Points dialog, you can select the Computed Heads option.
- With the Computed Heads option active, you can select the MODFLOW solution datasets and time steps to convert into a scatter point.
Once done, you will have a scatter point set in the Project Explorer containing dataset generated from your MODFLOW results.
Converting Scatter Points to Rasters
Now that you have your MODFLOW solution datasets as scatter point data, you can do the following to convert them into a raster file.
- In the Project Explorer under the scatter point set, select the dataset created from the MODFLOW solutions.
- Right-click on the scatter point set in the Project Explorer, and select Convert To | New Raster.
- In the Scatter → Raster dialog, set the interpolation option you wish to use and specify the extents of the raster.
- Finally, save your raster file with a name and raster file type.
The raster file will be loaded into GMS, so you can compare it to the contours in your MODFLOW solution datasets. The raster file contains elevation data that was in the MODLOW solution.
Now that you know how to generate a raster file from MODFLOW contours, try it in out in GMS today!
September 5, 2018
|
View: 2208
|
Categories: GMS
|
By: <a class="mp-info" href="https://aquaveo.com/blog/author/admin">Aquaveo Staff</a>
About the Author

Performing a Silent Install of XMS (Passwords & Hardware Locks)
October 10, 2018
Computing Basin Curve Numbers in 9 Easy Steps
May 16, 2023
Converting a NET File to an INP File
May 9, 2018
Performing a Silent Install for ALS
October 27, 2021
Tips for Finding Information on the XMS Wiki
September 25, 2019
Comparing Multiple Design Alternatives in One Project
April 7, 2026
Incorporating MODFLOW 6 Groundwater Energy (GWE)
March 31, 2026
Essential DEM Clean-Up for Watershed Delineation
March 24, 2026
Essential Boundary Condition Guide
March 17, 2026
How to Delineate a Well Capture Zone Using MODPATH
March 10, 2026