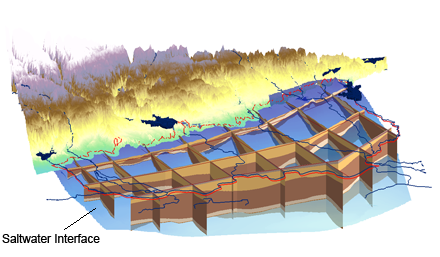
Differences Between AHGW and AHGW Pro
By aquaveo on March 19, 2024The Arc Hydro Groundwater tools developed by Aquaveo help you manage groundwater and subsurface data within ArcGIS. When ESRI released ArcGIS Pro as the successor to the ArcGIS Desktop applications, we made some changes to the AHGW tools to adapt to the interface of the new ArcGIS application. Today we’ll talk about some of the differences you should expect when making the switch to AHGW Pro. If you're curious about ArcGIS Pro in general, you can follow this link to learn more about it.
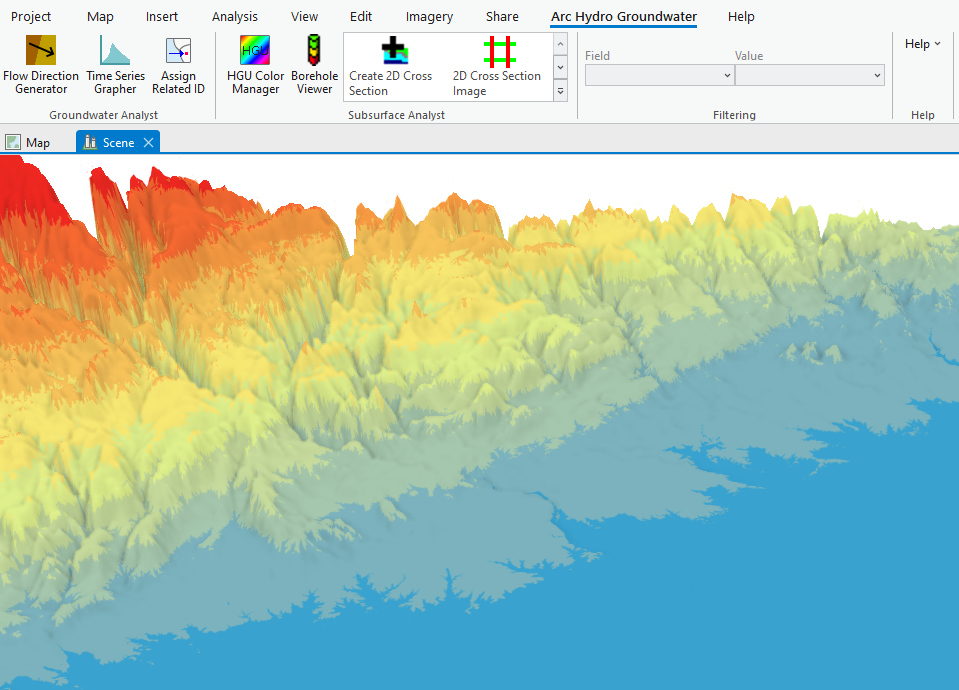
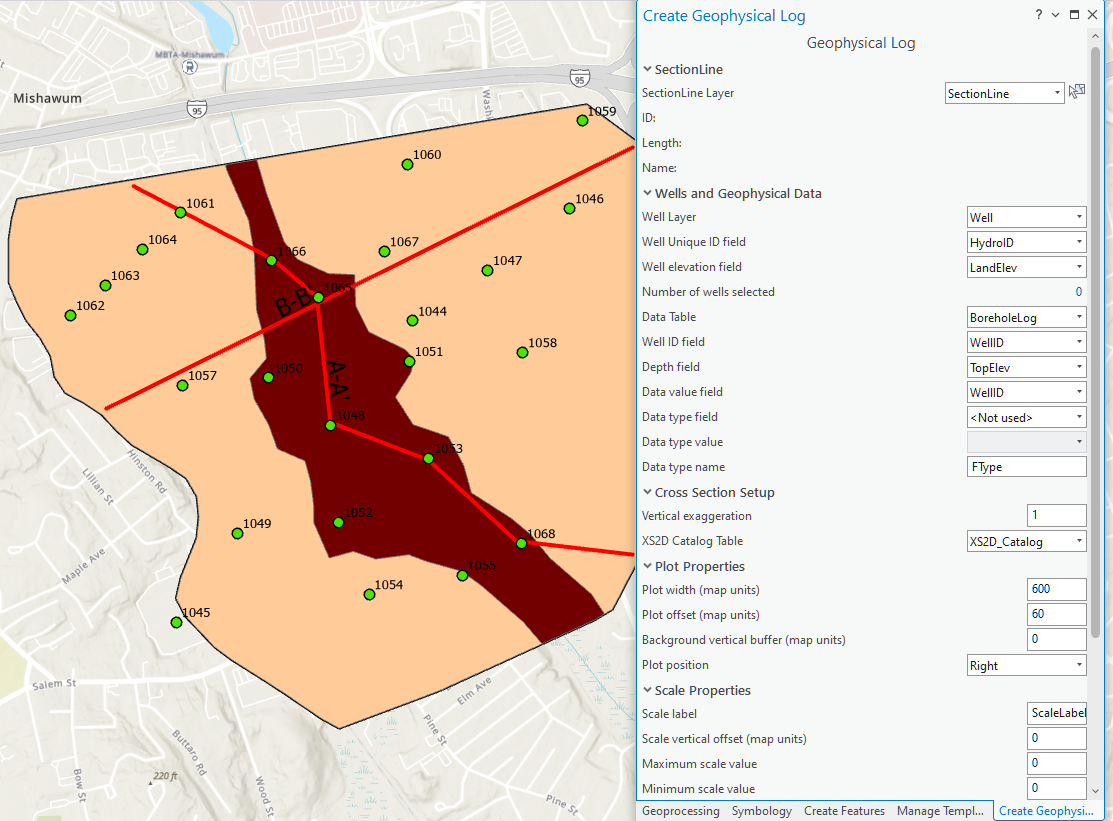
One of the major visual differences between AHGW in ArcGIS Desktop and ArcGIS Pro is the location of the tools. All the AHGW tools in ArcGIS Desktop are located on an AHGW toolbar that can be either docked or floating. In ArcGIS Pro, the AHGW toolbar has been replaced with an AHGW Pro ribbon which includes only some of the tools that were on the old AHGW toolbar. The rest of the subsurface and groundwater analyst tools are imported as a python toolbox. Additionally, AHGW wizards have been converted to panes, which contain all pages of the wizard.
Some of the tools that were previously available in the AHGW desktop applications are not available in AHGW Pro. Some of these tools will be included in upcoming iterations of AHGW, but there are some that will get left behind. Most notably, we have no plans to include any of the AHGW MODFLOW analyst tools in ArcGIS Pro. You may also notice that other file import and export options have been removed.
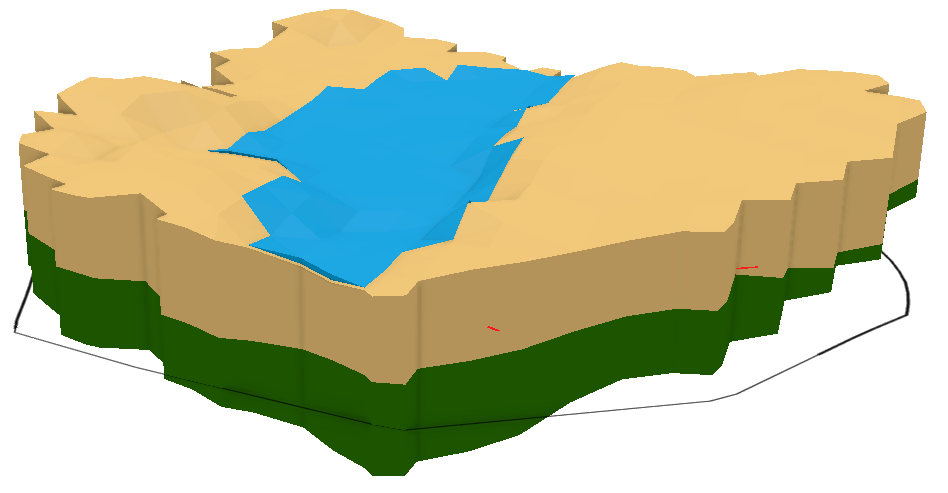
We made functional changes to some of the AHGW tools in ArcGIS Pro as well. AHGW Pro has moved away from using raster catalogs, using mosaic datasets instread. This may be a little confusing at first, as the tools still have "raster" in the name. Just know that when it says raster, it means mosaic dataset. There are lots of tools that can help you create and modify mosaic datasets inside of ArcGIS Pro, which you can easily find just by typing "mosaic dataset" in the search bar at the top of the window.
Go to ArcGIS Pro and check out the new AHGW Pro tools today!