Delineating a Floodplain Using a Scatter Point File
Looking for a quick way to delineate a floodplain in your area? WMS provides a way to delineate a floodplain and create a flood impact map quickly, using many different types of data. This blog post will cover how to delineate a floodplain using scatter point data.
Start by opening your scatter point data:
- Use the Flood | Read Stage File menu command to import your scatter point dataset. This is the recommended method for importing a scatter point set for using in delineating a floodplain.
Delineating the Floodplain
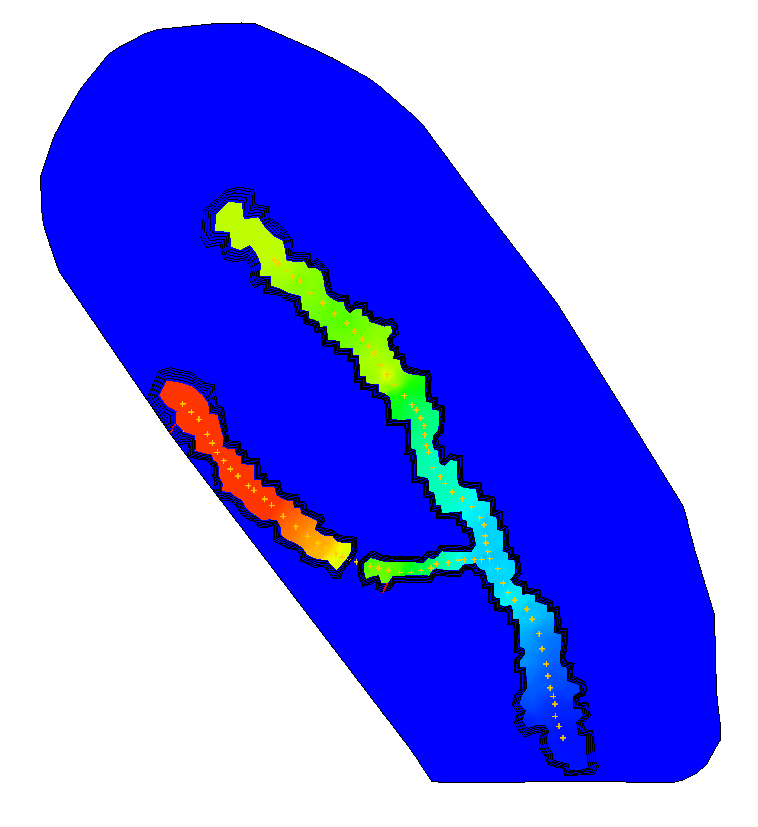
With the scatter point set imported, now delineate the floodplain.
- Select Flood | Delineate menu command.
- In the Floodplain Delineation dialog, choose the scatter point set you would like to model from the Select stage scatter point set drop-down menu.
- Select the specific dataset you would like to delineate from the Select stage data set drop-down menu.
- Set options for the Search radius, Flow path, and/or Quadrants depending on your individual model.
- When done with the Floodplain Delineation dialog, the delineation process will begin for the set of water surface elevations selected.
In order to create a flood impact map, it will be necessary to have at least two different delineations using varying datasets. If you wish to go on to create a flood impact map, repeat steps 1-5 with a different dataset to obtain a new floodplain delineation.
Creating a Flood Impact Map
WMS can use two separate floodplain delineations to generate a flood impact coverage. A flood impact coverage shows the difference between two flood depth or water level sets. The differences are divided into ranges or classes. Using the floodplains delineated in the previous steps, we’ll create a flood impact map. This can be used to compare how an area will react to a proposed levee for example.
- Select Flood | Conversion | Flood → Impact Map menu command.
- Choose the Original dataset based off your previous delineations.
- Choose your Modified dataset based off your previous delineations as well.
- Set the Increase and Decrease sections as desired.
Now that the flood impact map is created, you can use the Select Feature Polygon tool to double click on any of the polygons in the map. This will show you the Flood Extent Attributes dialog, which displays info such as the amount of change between the compared datasets as well as the impact class ID and name.
So this a brief overview of floodplain delineation from a scatter point file using WMS. Try it out in WMS today!


