Working with Inactive Cells in MODFLOW 6
By aquaveo on February 14, 2023When working with a MODFLOW 6 model in the Groundwater Modeling System (GMS) it can be important to mark specific cells inside a project as inactive to keep it out of the computational domain. Using inactive cells can speed up the performance and accuracy of your model. Incorrectly designating cells as inactive or active can cause inaccuracies in your model or keep it from converging. Here is some guidance for working with inactive cells that will help create a better MODFLOW 6 model.
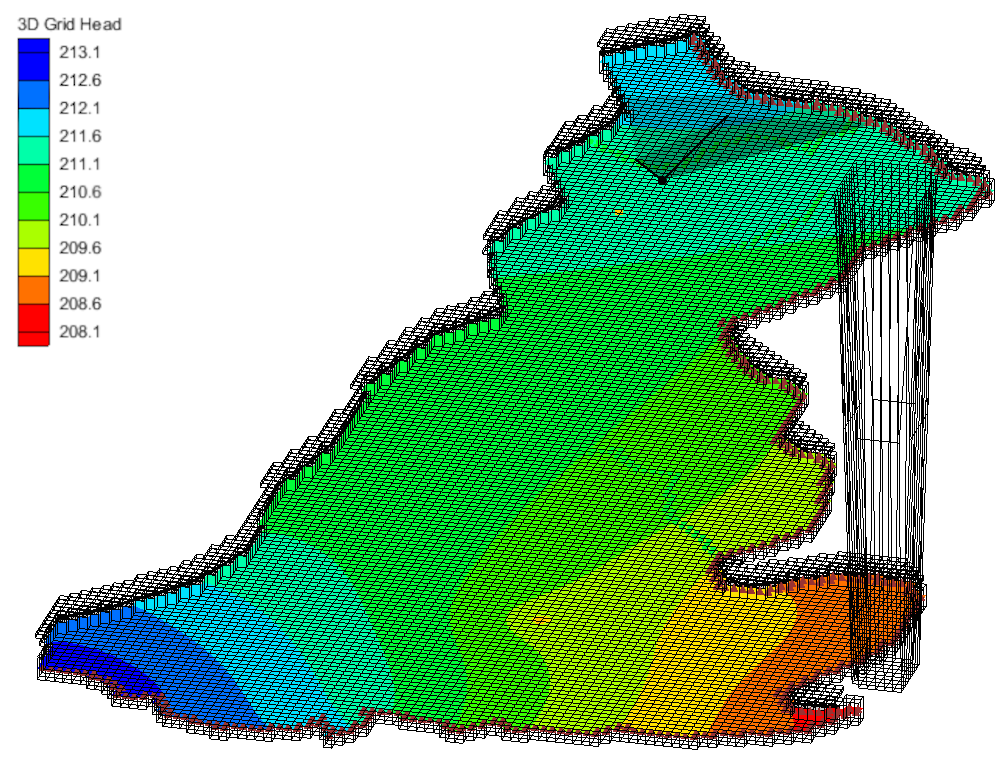
When choosing which cells to mark as inactive in GMS, it is helpful to know how to find information about the cells in the first place, as well as what information MODFLOW 6 is using to calculate the X, Y, Z, and S values of that cell. The display above the graphics window that shows the values of the selected cell is using the cell center for its calculated values. If the inactive cells have a low elevation that is inaccurate for the model, it will drag the Z value for the active cells on the edge down to meet the inactive cell. This happens because the outside active cell has nodes in the Z value that still need something to attach to as there cannot be gaps between the nodes. This will distort the cells in unintended ways and create errors in the model.
MODFLOW 6 uses IBOUND to determine which cells to mark as active and which to mark as inactive. Marking a cell with an IBOUND value of zero will make it inactive.
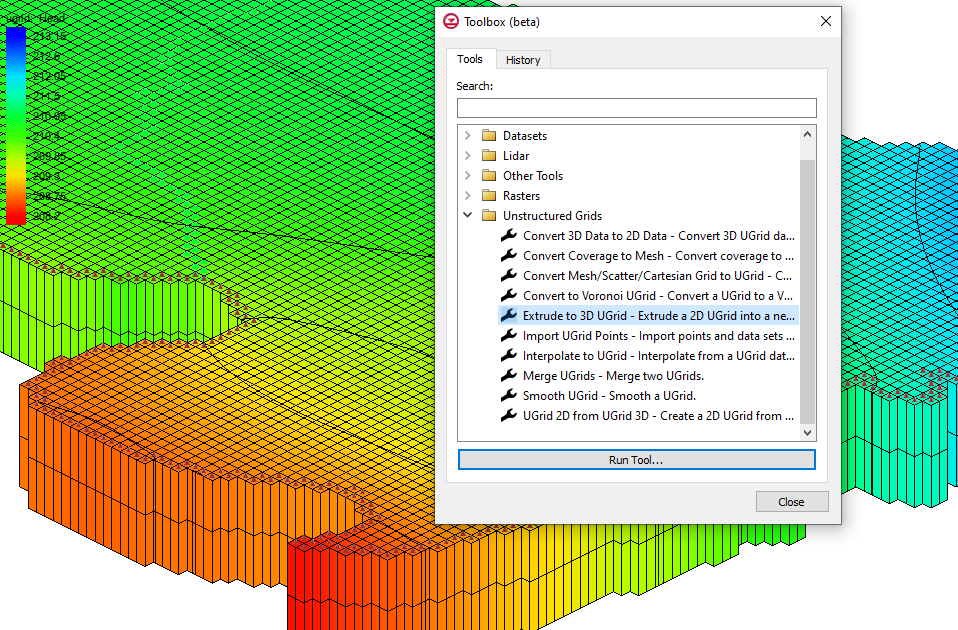
There are a few ways to inactivate cells in a MODFLOW 6 model. The first is to create a polygon that will separate the active and inactive cells. Select the polygon that contains the cells that are to remain active. Go to the Feature Objects menu and select Activate Cells in Coverage(s). This will automatically make any cells that aren’t selective inactive.
The second way is to select a group of cells with the cell selection tool. Then go to the MODFLOW menu | Advanced | Cell Properties… and change the IBOUND dropdown menu to inactive. This will inactivate only the cells that have been selected in the graphics window.
The cells can also be set as inactive by editing the IBOUND Array directly.The IBOUND dialog can be found by clicking on Global Options under the MODFLOW menu. There is an IBOUND button in this dialog window where the IJK coordinates can be set to zero manually.
Making use of inactive cells can improve you MODFLOW 6 model. Try out MODFLOW 6 in GMS today!