4 New Features in the GMS 10.4 Beta
By aquaveo on September 26, 2018We’re happy to announce the beta version of GMS 10.4 is now available. Our developers have been working hard to improve GMS to make the user experience more enjoyable.
To help you learn about some of the new features, we’ve compiled this list of four new features in GMS 10.4 Beta.
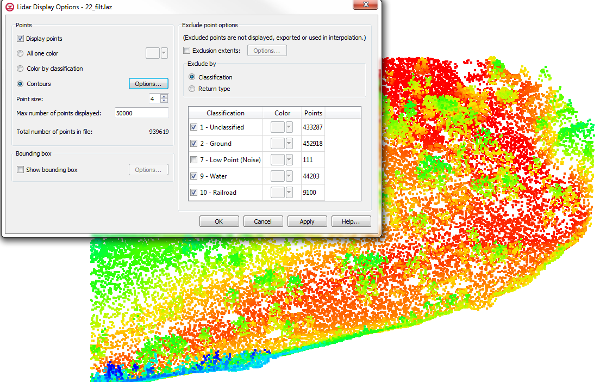
- New tools to support the use of lidar data. You might have used lidar files in the past and noticed that the interface was a little confusing and sometimes slow. After examining how the process could be improved, we made improvements to the import process and changed how GMS interacts with lidar data. We hope you find our new lidar functionality is both faster and makes working with lidar data easier.
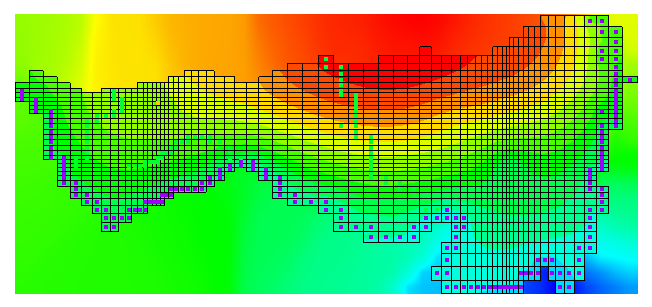
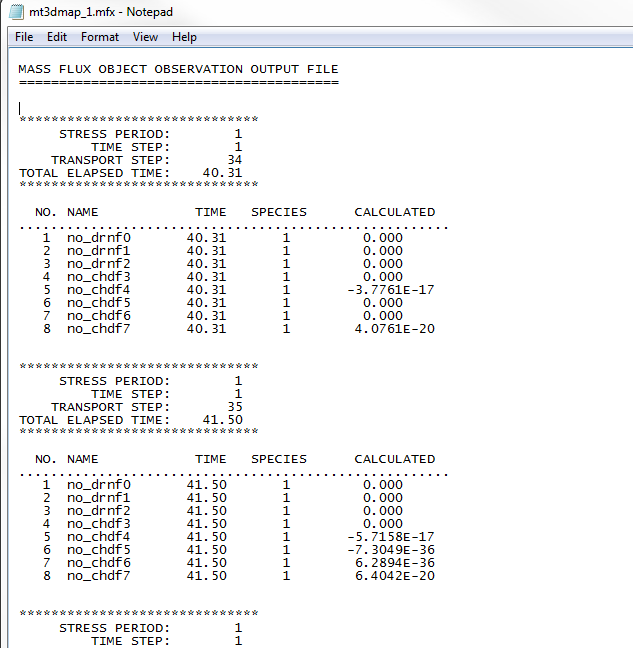
- MODFLOW-USG Transport can now be used with GMS. This version of MODFLOW allows including transport modeling into your projects. With it comes the Block Centered Transport (BCT) process, Dual Porosity Transport (DPT) package, and Prescribed Concentration Boundary (PCB) package. Other options are also included in the MODFLOW-USG Transport model to give a wide range of access.
- Head observations for Connected Linear Network (CLN) wells can now be created to measure the computed head in a CLN node or cell. The process is similar to creating head observations in the groundwater domain with some differences. Overall, CLN observations are simple to create and provide a great addition to the CLN process.
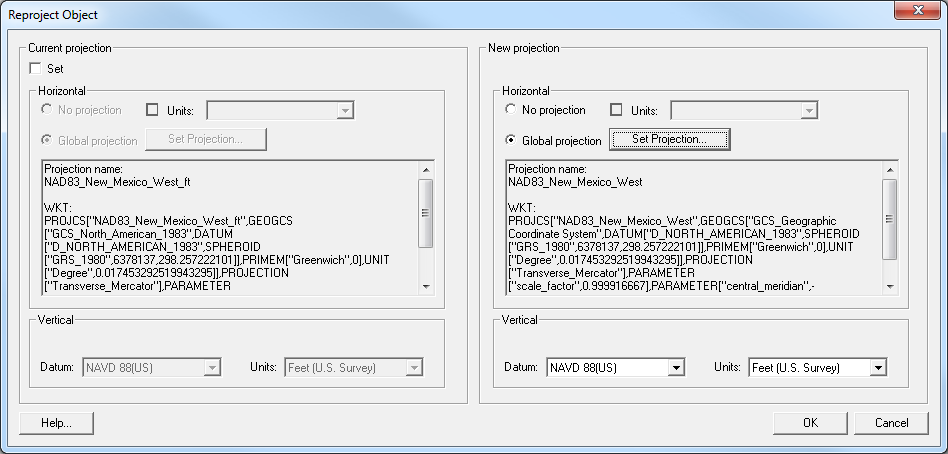
- You can now export your MODFLOW project for use with MODFLOW 6. This is done similar to saving native text files.
These are only some of the many new and updated features in GMS 10.4 Beta. You can find a bigger list of them here. Along with these new features, we are also excited to offer new tutorials instructing users on how to best utilize the new features. There are specifically tutorials on the new features listed above. Try out the beta by downloading it today!